
Getting Started
Welcome to Inflow. Here's how to get up and running quickly and easily.
🏃♂️ Sign up, complete your business profile and start using Inflow
Step 1: Sign up for an Inflow account
After the Know Your Business (KYB) regulations is done, you can connect to an Inflow account directly via email.
Step 2: Complete your business profile
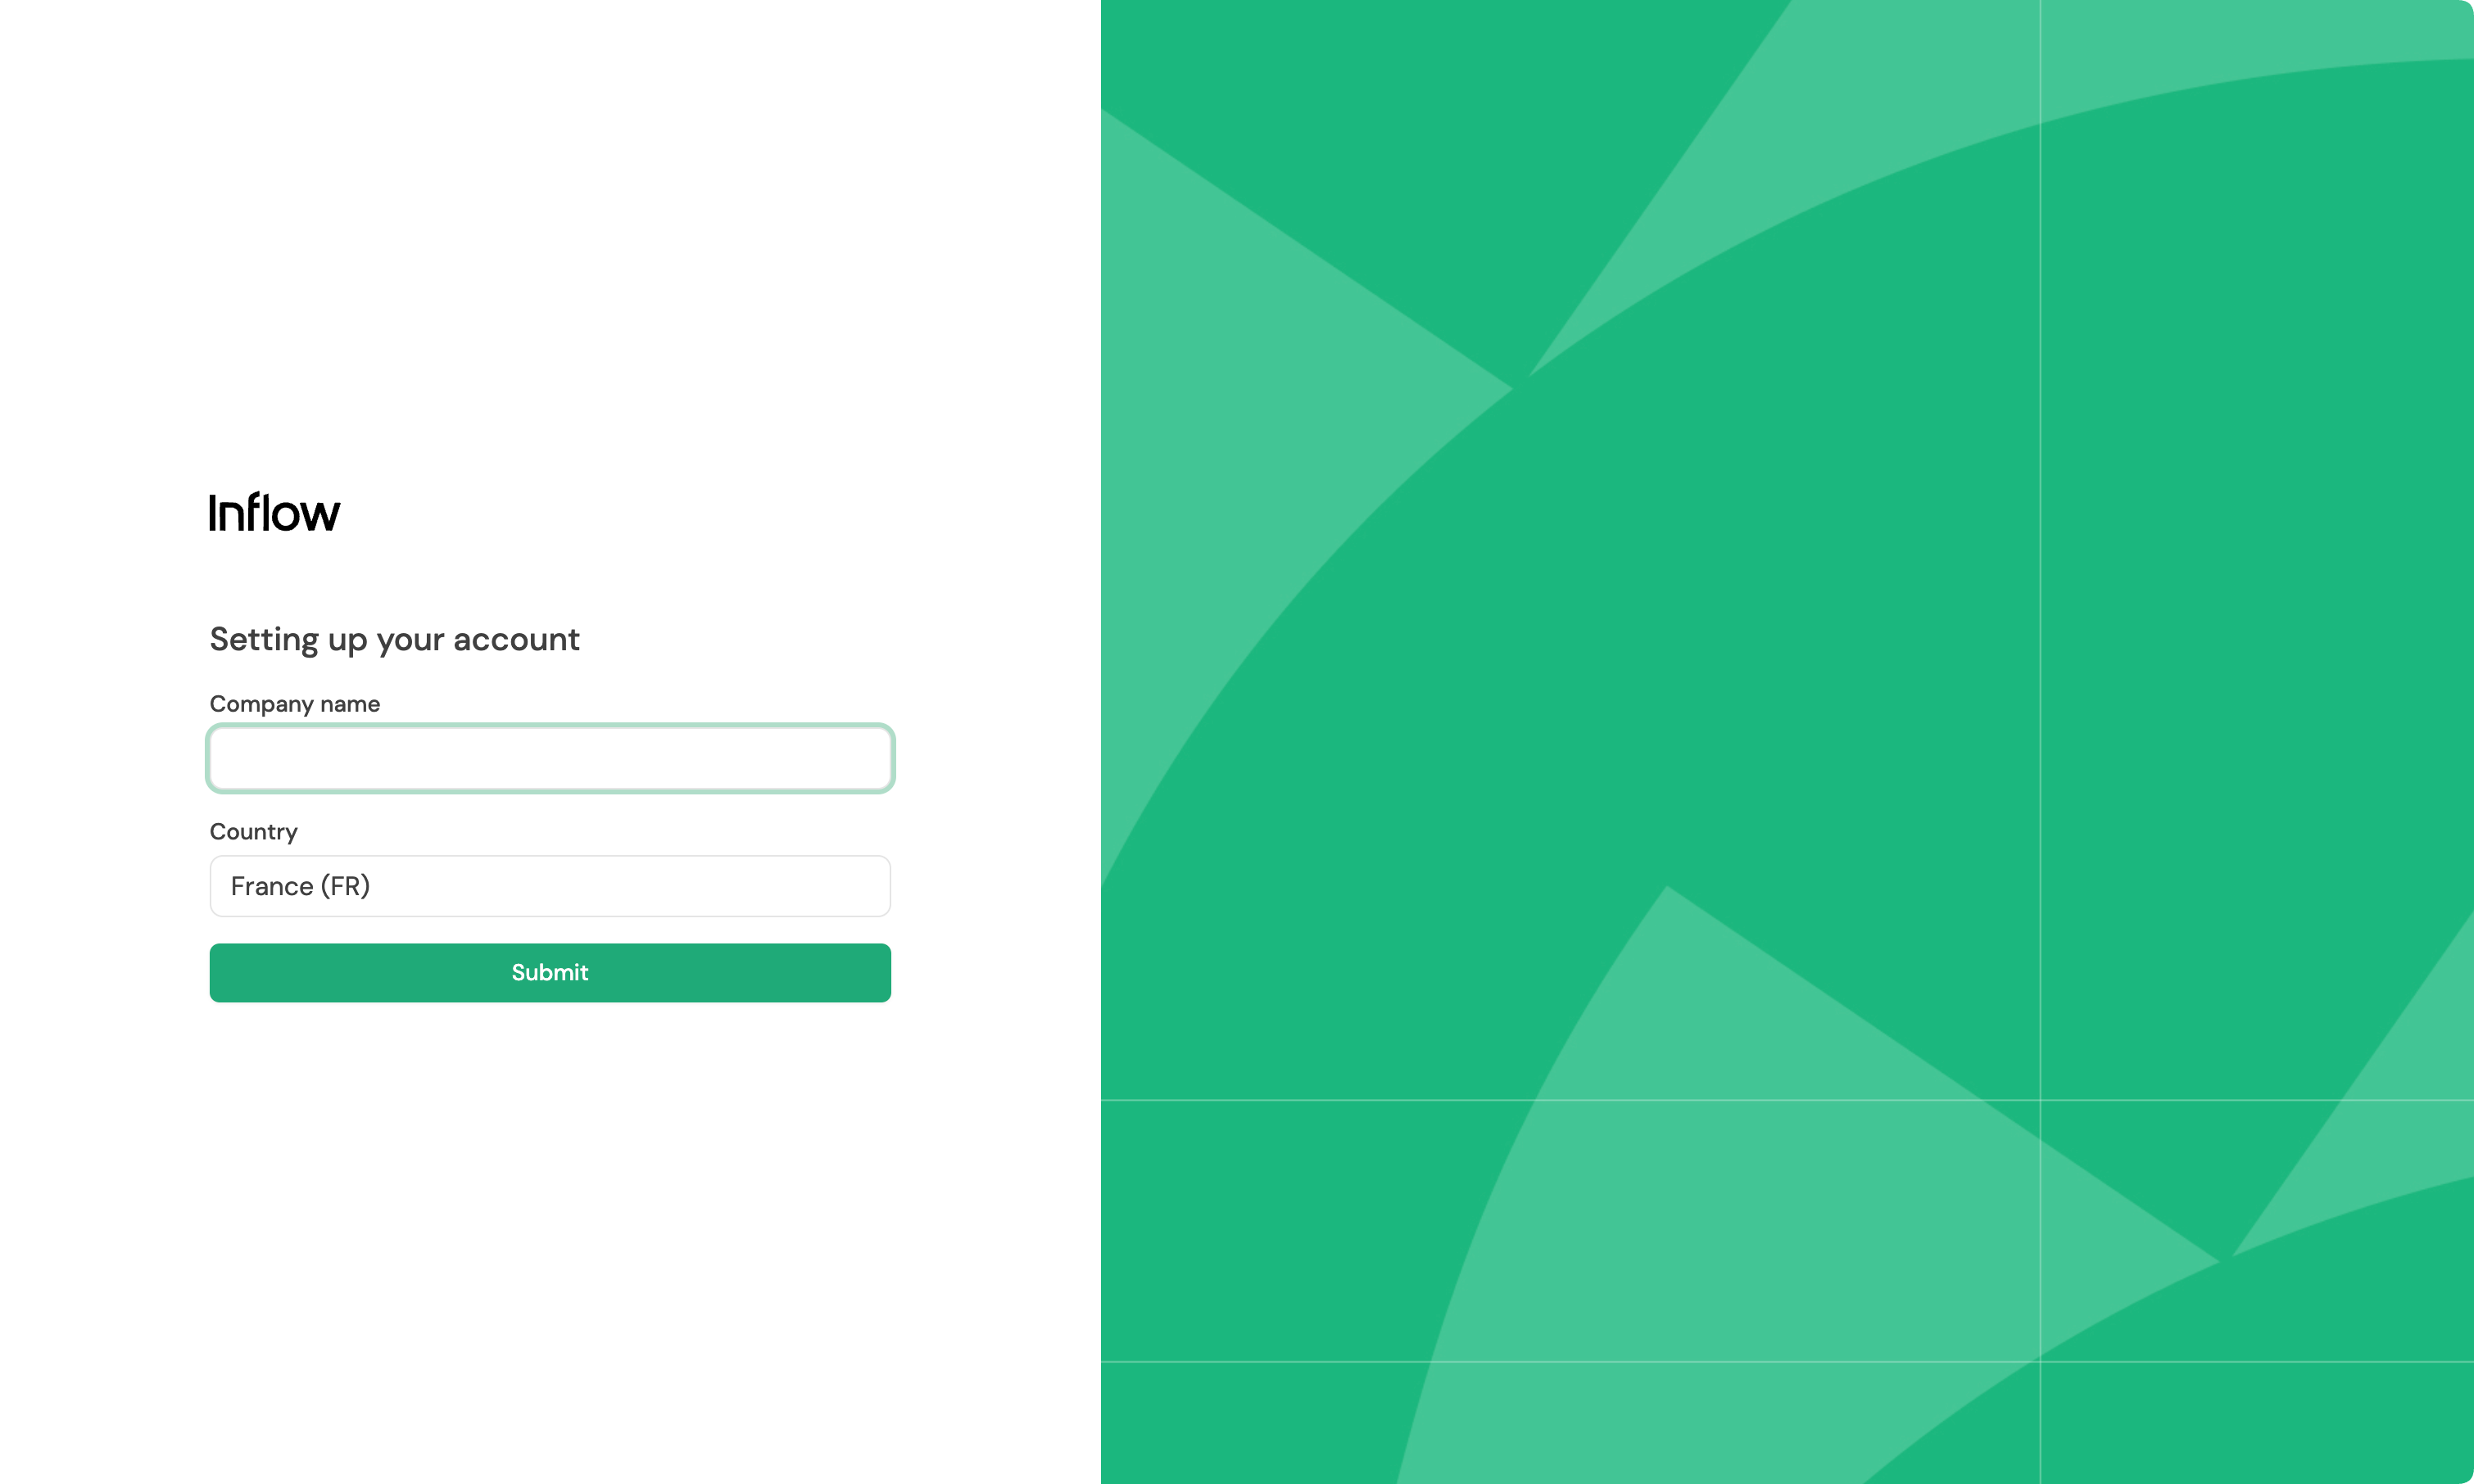
After connecting to the merchant account, you will need to complete your business information, and you will have access to the Inflow dashboard.
Accept your first payment
Step 3: Decide how you want to charge your customers
Inflow offers a full stack of payment to meet your business needs, with payment links and APIs for developers.
- Code: if you plan to write code to implement payments into a website or app, we recommend starting with our Docs.
- No-code: Learn how to accept payments, or sell subscriptions without writing any code.
Track your payments
Step 4: Stay informed about your transactions
The Payments page provides a clear view of all your incoming payments. You can track the amount, date, and source of each transaction in real time.
To learn how to navigate the Payments page, see our guide.
Manage your funds
Global payouts
Step 5: Manage your balance and payouts
You can view your balance and initiate payouts directly from the Balances Section of the Dashboard.
- Note that there is a no waiting period for your first payout.
Business IBANs
Step 6: Generate virtual IBANs to receive payments
Create dedicated virtual IBANs (EU and US) to receive B2B payments from clients globally, ideal for freelancers, contractors, and agencies. Each IBAN is linked to your merchant account and can be shared per project or customer.
Helpful resources
We offer extensive walkthrough and technical documentation for developers and business guides to help you to get started with our platform.
For developers:
Updated 4 days ago