

Notifications
Available via: Dashboard only
The Notifications tab controls the emails Inflow sends, both to you and to your customers. It has three sections: your notification email, the emails you and your customers receive, and the invoice email delay.
How to Access
- Open your Inflow Dashboard.
- Go to Settings → Notifications.
Every member can see these settings. Changing them requires write access to merchant settings; members without it see them as read-only. See Roles and Permissions.
Notification Email

The address your account notifications are sent to, for example a shared finance inbox. If you leave it empty, they're sent to your account email.
Enter the address and click Update. Click Send a test email to check that it arrives.
Emails
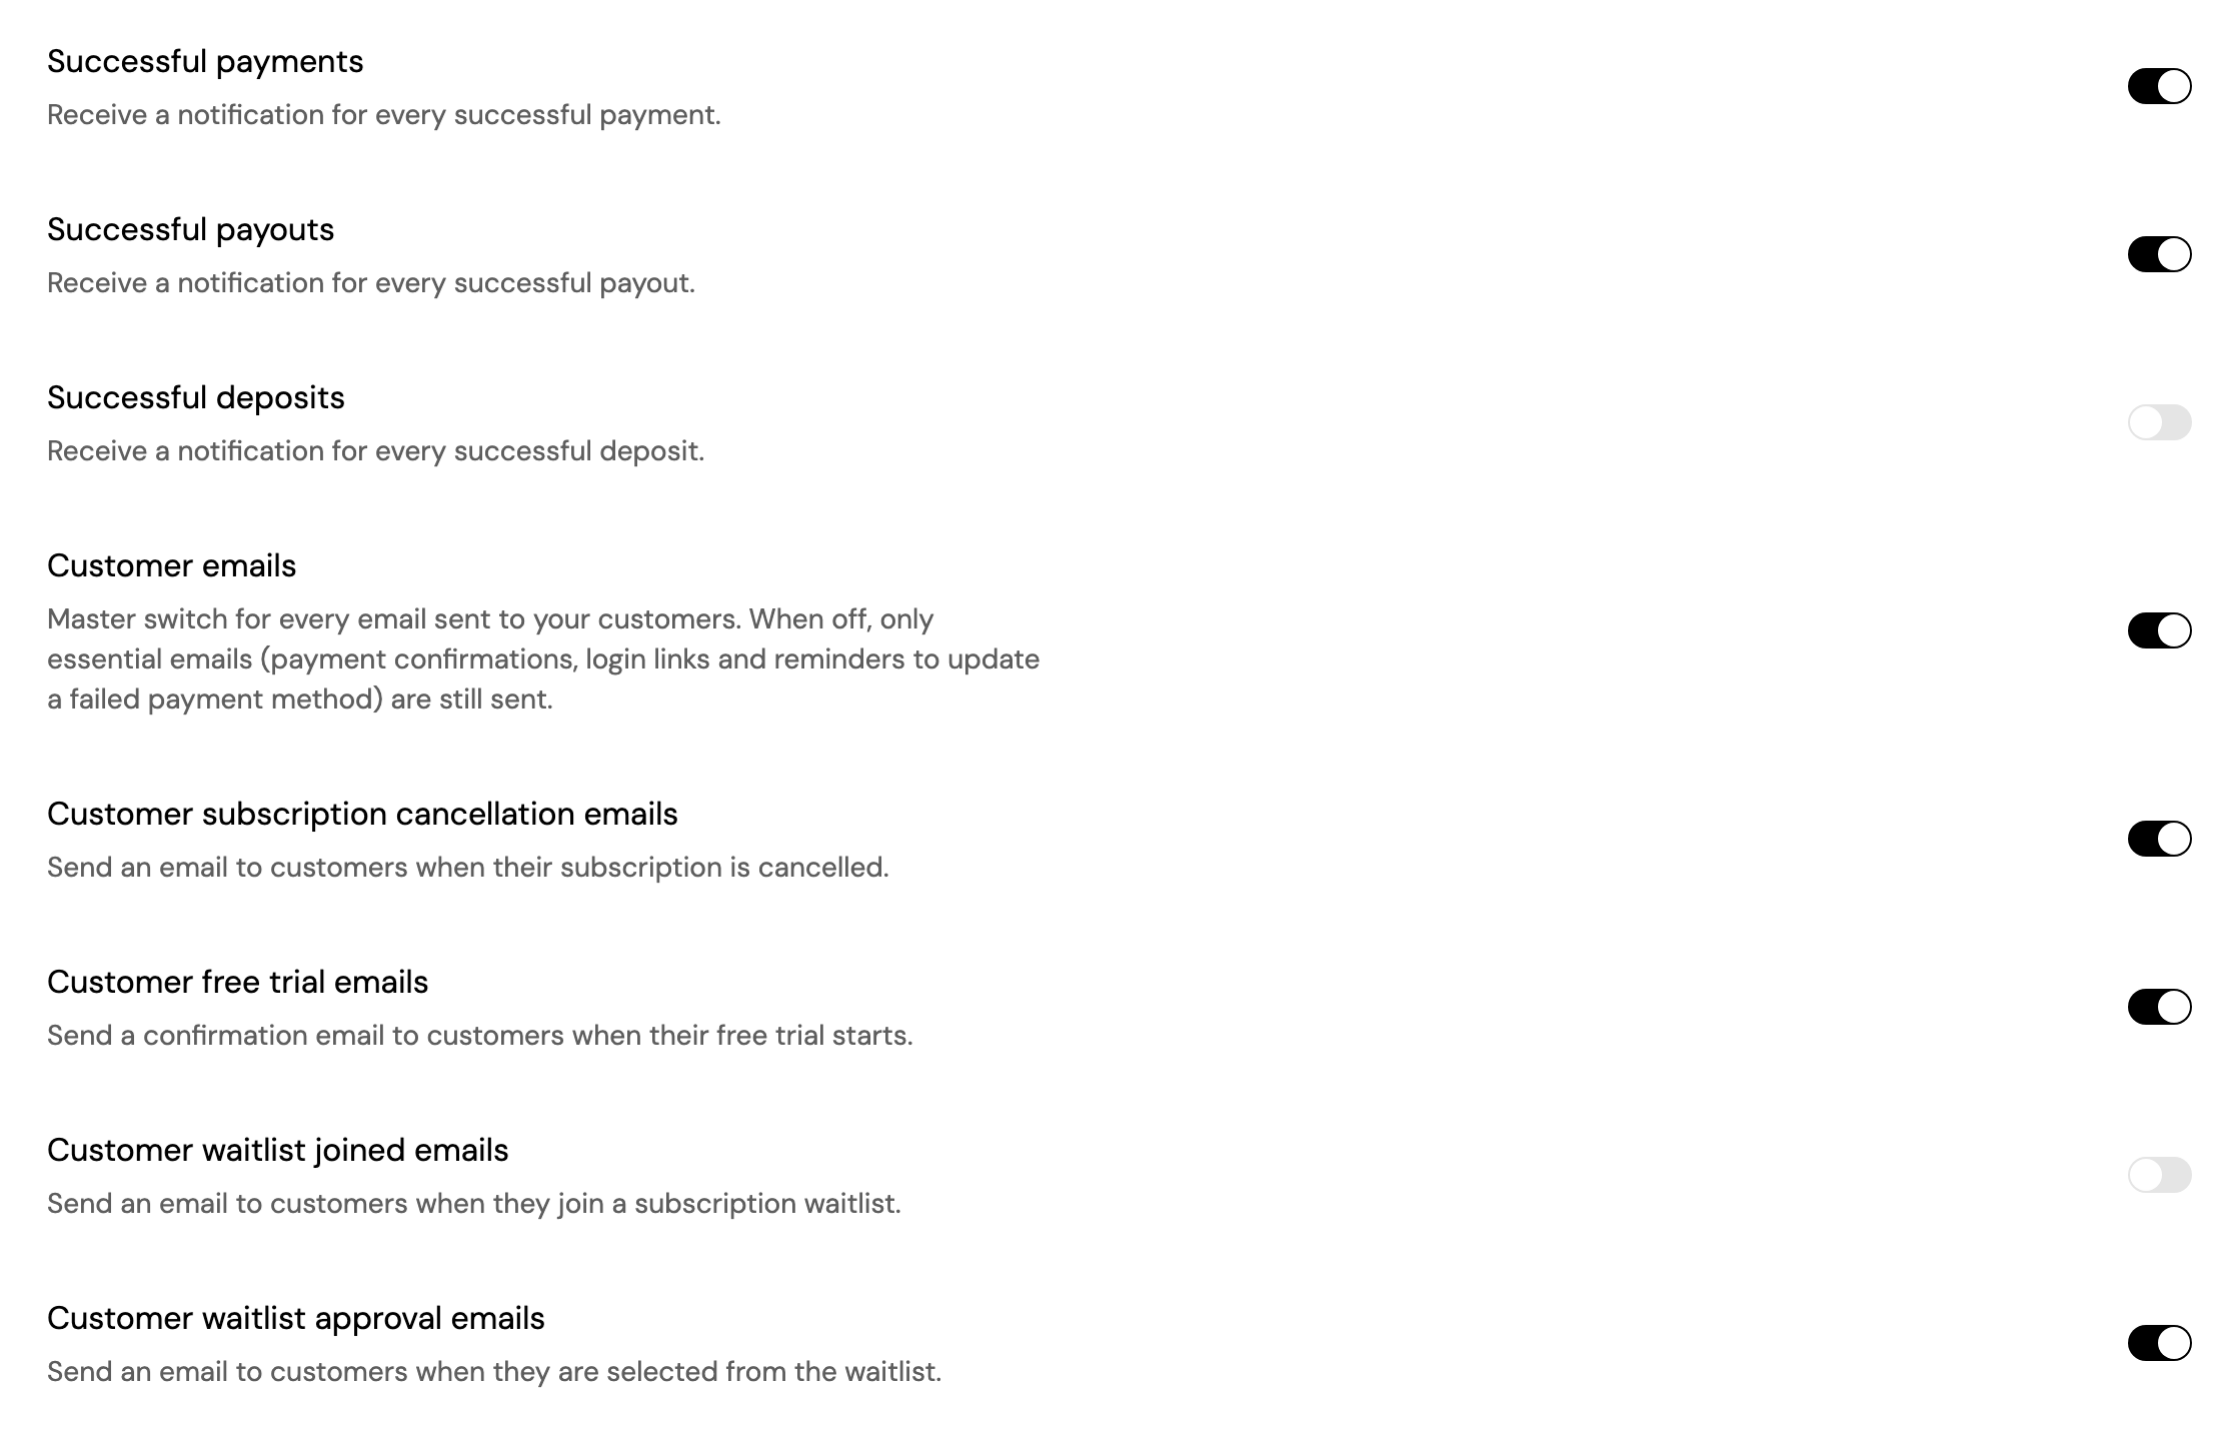
Click a switch to turn an email on or off; the change is saved immediately and applies to the next event.
Emails to you, sent to your notification email:
| Sent when | |
|---|---|
| Successful payments | A customer completes a payment. |
| Successful payouts | A payout is sent. |
| Successful deposits | Funds are deposited into your balance. |
Emails to your customers:
| Sent when | |
|---|---|
| Customer emails | The master switch for every email sent to your customers. |
| Customer subscription cancellation emails | Their subscription is cancelled. |
| Customer free trial emails | Their free trial starts. |
| Customer waitlist joined emails | They join a subscription waitlist. |
| Customer waitlist approval emails | They're selected from the waitlist. |
When Customer emails is off, the other customer emails are turned off too. Essential emails are always sent: payment confirmations, login links and reminders to update a failed payment method.
Turning an email off only stops that email. Webhooks and your dashboard are not affected. For real-time events in your own systems, use Webhooks.
Delay Invoice Emails

Delay the payment confirmation and invoice email sent to your customers by a number of minutes after purchase, for example to send your own welcome email first. Enter a whole number between 0 and 120 and click Save. 0 sends it immediately.
Updated 13 days ago